

Solutions to Detailing Problems

At Matt’s Magic Detail Tech we’re about providing solutions not gimmicks that waste time and money
In the detailing industry there are a number of problems, especially in regards to sanding/polishing automotive paint finishes.
As I am extremely passionate about this and at the point in my career where I believe in giving back to my industry, here are some solutions to problems which exist and which if you have not tried before, should help you conquering them altogether and making your detailing time more enjoyable and less frustrating.
PS not all of these are my own ideas, some are yes but certainly I do not claim ownership of all of these solutions
STICKY PAINT
This is what some vehicles manufactured in Asia, especially subaru Impreza vehicles gave us grief with.
There were some porsche and Holden Commodore models that were far less as severe but still had some amount of it.
With sticky paint, what is happening is the paint warms up from machine polishing and once the paint warms up to a certain temperature (warm to very warm), the paint becomes like tacky glue and the compound or polish cements itself to the panel your working on and is very difficult to remove. The best option then is rinseless wash and a very damp or wet towel to remove the product residue stuck to the paint.
When using most if not all compounds and polishes on sticky paint, the liquid, cream or paste product would quickly go from being a moist film on the paint surface to semi dried up small balls or long thin strings of dried up product as well as being stuck to the paint.
To seriously reduce or eliminate this issue, try one, some or all of these solutions.
Use a random orbital polisher instead of a rotary or gear driven polisher unless you have a rotary polisher that starts at 200-250, 400 or 500 rpm.
Add a small drop of Diggers Paraffin Oil every so often to provide more lubrication and to reduce the temperature during polishing so the paint temp takes longer to rise to the point where the stickiness kicks in thus preventing the issue. You can also use this to massively reduce compound and polish dusting issues
Switch to a true water based compound and polish or a hybrid of both like 3D One that is a pouring cream consistency or even runnier and which is totally free of solvent naptha, dearomatised or desulfurised kerosene and white spirits as those ingredients appear to be the things that triggers sticky paint the most. 3D One and others similar to it lubricates or films on the surface much better and stay wetter for longer. They are not Not super oily or greasy but not dry either. the perfect balance of a water and oil film not dust or grease like some others on the market
With either a rotary or a random orbital polisher, use the faster arm speed & more passes technique instead of the traditional half an inch to one inch per second technique.Try one and a half to two inches per second or even three and just increase the number of passes if needed. It will reduce the amount of heat you induce into the paint and prevent or massively reduce the problem.
Switch to three and five inch pads instead of six and seven inch if you wish as they are more aggressive than larger pads when used on a random orbital polisher but opposite is true on rotary polishers. Smaller pads really do help.
Instead of using microfiber pads, go to either deburred laser treated wool, foamed wool or high quality foam pads and when using foams, use them damp not dry. Lubricate them with a foam pad conditioner product like Liquid Elements Pad Prime, an organic pad and polish lubricant which I have in stock at present in 500 ml
If needing wool, use the Carpro Cool Wool. A pad originally developed by a French based company who were my second ever suppliers of foam and wool polishing pads including the blue foam which I got from them ten years ago which was later supplied to Lake Country MFG for their SDO and HDO Blue foam. This company are just one of several European foam manufacturers and one in Malaysia who supply me today.
This pad is up to 35% cooler during use due to the coil spring like 3D structure that creates more air flow.
Use foam pads with the waffle face profile aka convoluted foam - shaped like a thinner variant of the insides of an egg carton. The waffle profile first created by 3M I believe creates not only a nice smooth buffing action but reduces heat generation on the surface.
Polish the paint only with open cell foam pads. Whilst closed cell foam pads are more efficient as they keep the product on the working surface and the top section of the foam, they do not dissipate heat anywhere near as well so the heat ramps up and the sticky paint issue will start up sooner.
Perform the wet compounding or wet polishing method. Put your pad of choice in a bucket of warm water and rinseless wash and get it soaking well, spin out some of it but keep it very damp. Apply your product to the pad or surface then start paint correcting, the wetness of the pad will likely wash out some lubricant in the product but increases cut whilst also flushing away paint residue and keeping heat build up down too
Depending on the type of compound or polish used (solvent/oil or water based), it will either increase or reduce the overall gloss finish of the paint as the extra moisture from the water is washing out the lubricants in the products so with solvent based products the water won’t break it down fully but with water based it may.

Make it stand out
The look of the inside of the 3D wool pad with coil springs to reduce the temperature on the panel during machine compounding/polishing. by as much as 35%
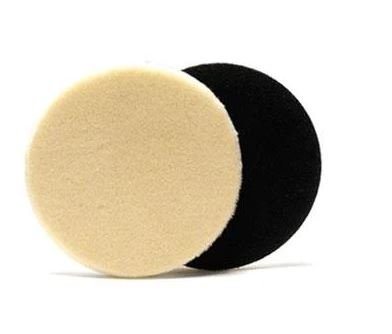
The Look of the outside of the pad
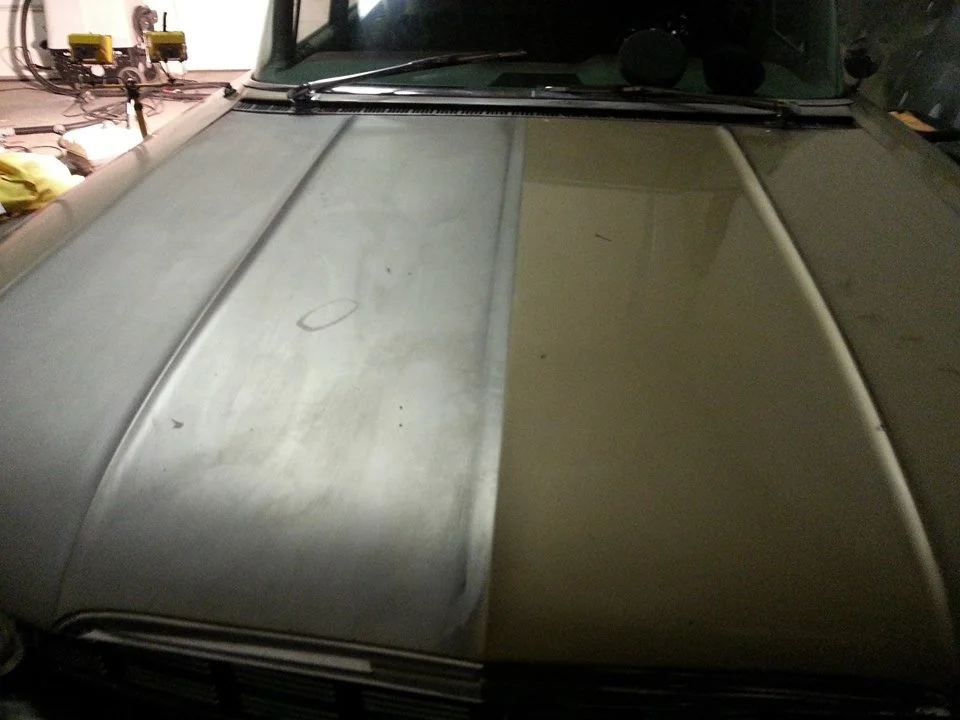
One of many ways to deal with sticky paint - not all sticky paints are soft either
Paints that are porous which absorb polish oils/lubricant and prevent proper filming of the polishes
There are unfortunately some other paints applied to vehicles which are also not very nice to deal with when performing gloss enhancements or paint corrections.
Traditional and modern thick paste and cream compounds and polishes just don’t seem to work well on some of these despite a variety of formula’s between products.
One particular model that really stands out from my own experience is the 2003 Toyota Hilux which I owned for a number of years that had white factory paint that lacked any real significant gloss. It looked like dry spray and lacked vivid clarity and a wet look gloss finish. This vehicle was manufactured in Thailand.
This paint always felt like it had been washed with laundry or dishwashing liquid for it’s whole life as it felt grabby and dried out and no matter what brand of compound or polish I used, it got sucked up into the paint and disappeared and the normal thick pastes or creams could not get any significant gloss out of it
So what do you do when you encounter paint like that - here’s a few tips
Use a water based polish that has a pouring cream or even runnier viscosity like full cream milk.
For some weird reason the only product that would remove the defects (albeit slower than a strong compound) and actually bring up the gloss, clarity, depth of reflections and colour brightness of the white paint was Xpert 1500 High Tech Polish and others with a runny consistency. Paste’s could cut but didn’t give decent finish even if they were a softer grade.
Add a wetting agent regularly to the pad like Nanolex Optimizer, Paraffin oil, Gliptone Body Lube, Meguiars Final Inspection or rinseless wash that is protection free to increase lubrication and improve filming properties
Nanolex Optimiser changes the viscosity of polishes as well as increasing compounds, polishes and coatings filming characteristics - how the products spread on the surface. it makes them spread more evenly and lubricate better. Paraffin oil provides superb lubrication properties and non protective sprays like Meguiars Final Inspection and Gliptone Body Lube provide moisture for the pads and some lubricity.
Removing stuck on bugs when you’ve run out of your favourite chemical for that task
If you have run out of your favourite bug removal product or whatever it is that you use for the task of removing stuck on bugs from the front end of vehicles and need to clean them off easily and car wash soap isn’t doing the job then as crazy as it may sound, do this.
GET OUT YOUR LEATHER CLEANER
Yes you read correctly, get out the leather cleaner. If it’s as good as the one my mentor makes it will annihilate stuck on bugs really easy. Low pressure soak the front of the vehicle to soften them (use snow foam if you wish) and then soak all covered panels/mirrors etc with Leather Cleaner at 1:10 ratio or even stronger if needed.
Wait a few minutes then high pressure rinse all areas - this should take out 80 to 90% or possibly more. Then just grab a microfibre wash mitt or the grey or white side of a scrub ninja and soak it in leather cleaner and wipe off the remainder of bugs then wash the vehicle as normal. Any remaining bugs should slide off in one or two wipes.
This suggestion is best for when you are cleaning and preparing a vehicle to be gloss enhanced or corrected. If it’s already been done and has a coating on it, car wash soap should be all you need unless the owner of the vehicle has left the bugs on for way too long.
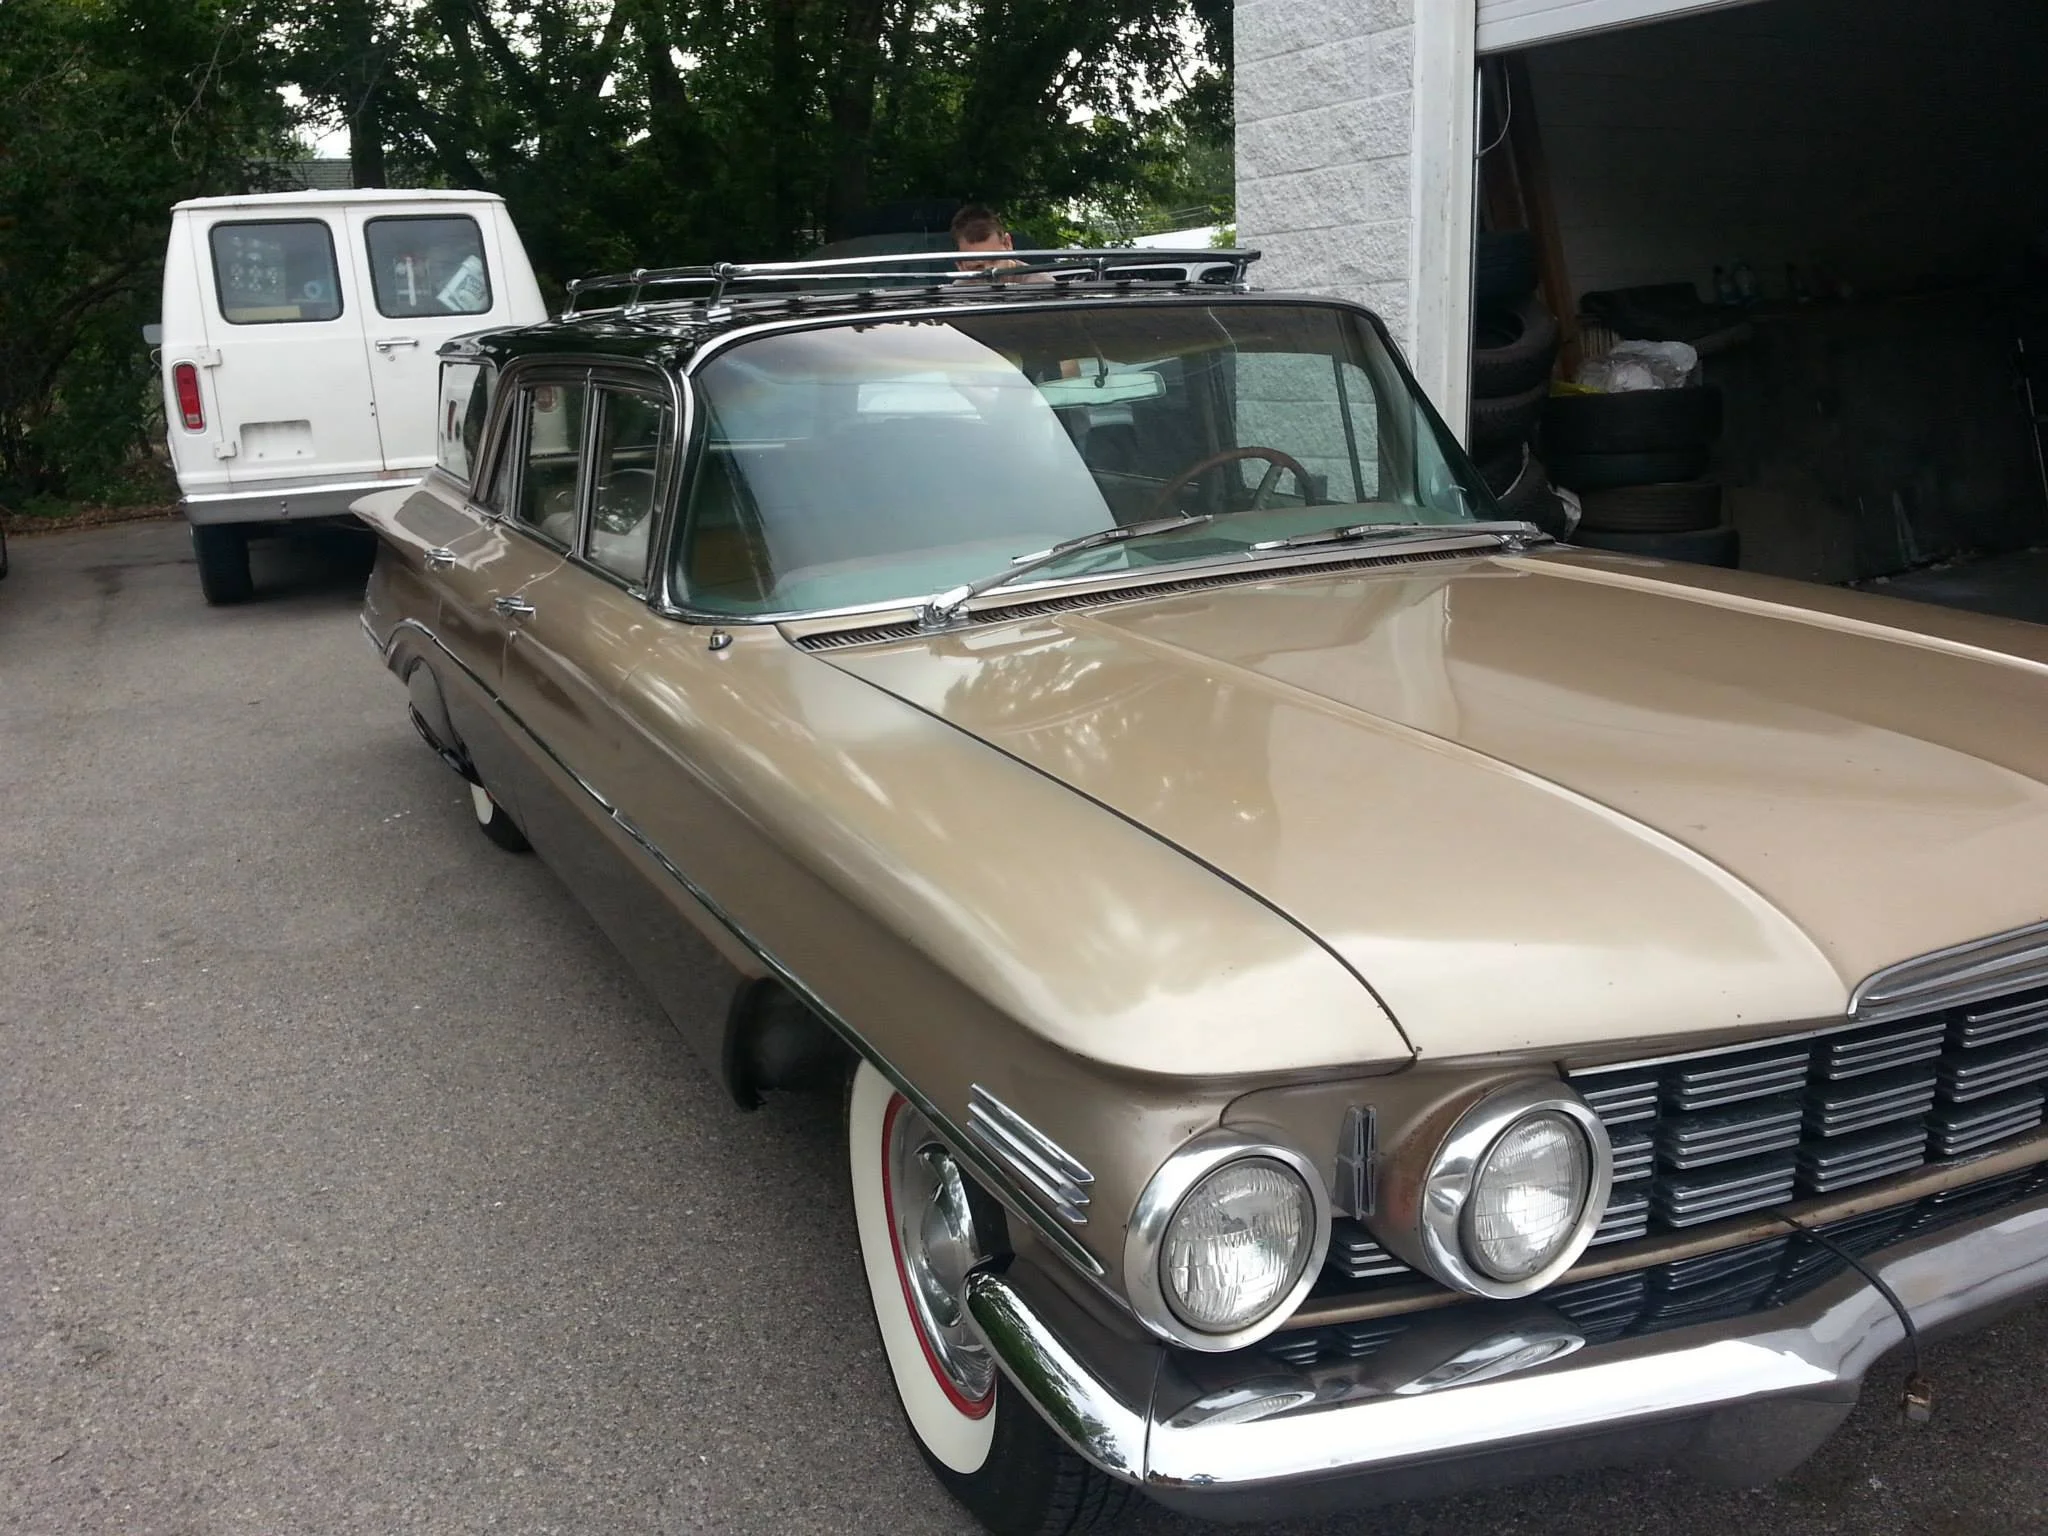
Oxidation removal
Oldsmobile 88 Wagon with seriously bad old paint. If I was skilled back then in 2010 as I am now I would have sanded it or said repaint it. The bottom half was repainted, the top was original paint
Oxidation is something which if it’s anything more than moderately bad will usually require sanding to remove fully and therefore permanently fix. Sometimes it will come back again in nine to twelve months and a slightly more aggressive sanding process is needed.
However to speed up the process for you and make effective removal of oxidation easier, try these tips
Use a quick break formula dewaxer chemical that both cleans the vehicle, strips any protective products except ceramic coatings and wash the vehicle with it using a fairly course foam dish scourer.
I use Xpert Miracle Cleaner for this purpose at 3:1 or 4:1 in a pump sprayer which strips the yellowing from the paintwork and headlights that is caused by UV radiation and deep cleans the paint beyond what car wash can
Follow with fallout remover and a clay towel and after that a clay bar if you so desire for maximum results.
Use a gear driven, random orbital or rotary polisher and a very course large cell sized foam cutting pad to rip the oxidation off the paint by means of the tearing action of the foam. Wool is often the pad people use but I find that wool is too plush and when using a foam pad after the wool pad on badly oxidised paint the dull faded look comes back as soon as the foam has polished it.
Wool does it’s cutting via a larger surface area, it’s pile height (usually 0.75 to 2 inches high) and whether it’s twisted or straight fibers, how many ply - 1 or 4 ply and what grade it is - extra ultra fine to course or 9 micron to 25 micron. Most wools are 14 to 22 micron wools from Irish, Turkish, American or Australian merino wool
Whereas foam works by cell size, it’s density or firmness and how rough or smooth it feels. Very stiff large celled sharp/course feeling foam has a tearing action that is very abrasive and this can really help take off oxidation.
constantly flush the oxidised paint away with the system 4000 pad washer or a bucket of water and rinseless wash - dunk the pad in it and agitate then spin dry on a high speed polisher and aid that with compressed air with the air blow gun on a 45 degree angle. Failure to do this will seriously slow your progress.
If the combination of a strong product and a course cutting foam does not give a significant improvement to the paint and restore the gloss then go to sanding with 2000 or 3000 grit or in some cases 1500 grit unless the paint is modern and between 50 and 80 microns thick. In that case a coloured PPF, vinyl wrap or repaint is a better longer lasting option. If over 100 microns, some sanding can definitely be performed.
Additional Tips
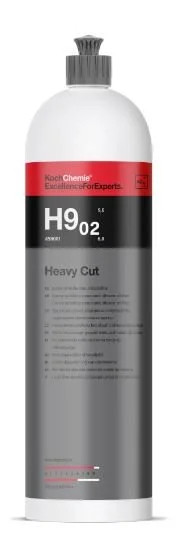
For single stage paint systems
Try Koch Chemie H9.02 Compound - it works super fast on those from my own experience on oxidised single stage aka direct gloss paint finishes.
A combination of H9 and F6 at 70 % H9 and 30 % F6 also can work very well for one step cutting and finishing
For clearcoat paint systems
Ensure that you have thoroughly deep cleaned, dewaxed and decontaminated the paint both chemically and mechanically including mineral neutralisation if needed prior to starting to repair the paintwork
If requiring sanding to fix the paint I recommend machine sanding (2000 and 3000 at least) as it’s less aggressive and often easier to remove the sanding marks than doing it by hand. 3M Trizact, Kovax Super Buflex plus Mirka Galaxy/Abranet or Abralon are what I recommend. Sand as fine as you can to make it easier and reduce polishing steps down to one or two max.
Remember to constantly measure the paint thickness after you sand each section - the typical amount you will remove by sanding and polishing is between five to ten microns. Preserve as much paint as you can by sanding as fine as 5000,6000 or 8000 grit to reduce your corrective polishing to one or two steps maximum with a foam pad or a fiber pad and a foam. The french Blue foam that is the original foam that the LC SDO/HDO and Buff and Shine Blueberry foam and ZviZZer Thermo polish system blue foam is based on is what I suggest you try first up after sanding to 5000 grit or higher


I hope that these few solutions I have provided prove very helpful to you and eliminate any issues you may have
Giving back to my industry with immense passion, helping my peers achieve better results and easier, save time, money and be more profitable and providing the industry with solution based items is my goal. No gimmicks ever
Happy detailing
Matthew Gibb
Founder
Matt’s Magic Detail Tech